|
|
|
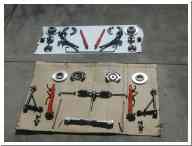
| Here is the front and rear suspension pieces ready to be assembled. |
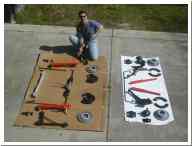
Rick showing off his "new" suspension parts. |
Hmmmm, now how does this go back together? |
|
|
|
| If I can't find that bolt I'm going to be frickin pissed! |
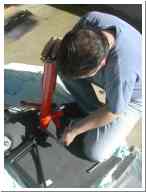
Assembling the front shock assemblies. |
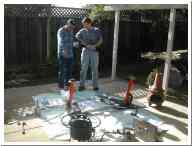
Rick and my dad conversing over how to connect the tie rods. |
|
|
|
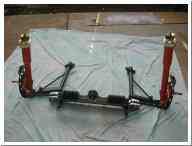
| The assembled suspension. I'd say that's brand new. |
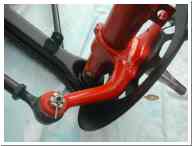
A detail of the front suspension. |
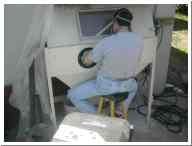
Rick doing his favorite thing. Blasting. |

|
|
|
| Some of Rick's cleaned parts. |
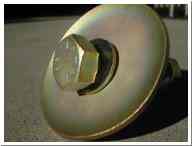
A freshly plated an chromated suspension bolt & washer. |
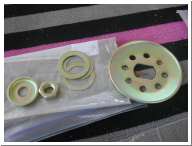
Plated and chromated fan pulley and shims. |
|
|
|
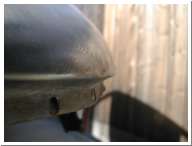
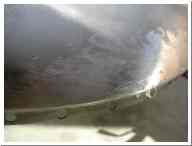
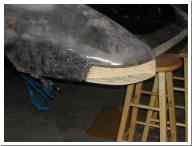
| This small dent was actually pretty bad but we of course forgot to take a pic before we started working it. |
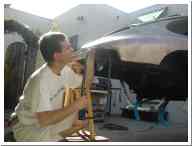
Ken using a bullseye pick to remove the small dent above the rear tailight housing. |
This is what's called, "metal finished". Dent now gone. |
|
|

|
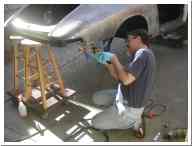
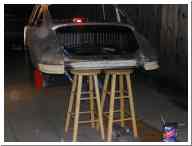
| Rick cleaning up the underside of the fender to receive the new tailight bucket. |
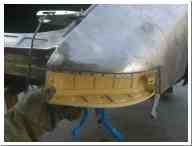
Fitting the new tailight bucket. |
Clamping the bucket in to check the fit. |

|
|
|
| Rick cleaning up the welds on the new tailight bucket. |
Left side bucket welded in and ready for cleanup. |
A very fruitful Saturday. The car officially has talight buckets! |