|
|
|
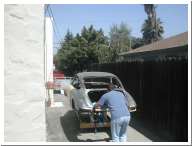
| Here's Rick rolling he car up to the trailer. We were able to literaly roll it up the ramps and lock it down. |
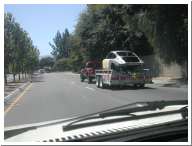
Here is a great pick of me following Rick on the way over to my house. |
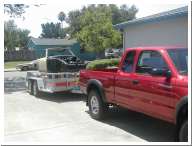
Here is the arrival of the car at my place. |
|
|
|
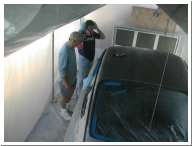
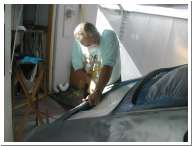
| My father and Rick gearing up for a long morning of sanding and grinding. |
Here's Rick's father Jim sanding the metal based filer in the rear tailight area. |
Here's Rick taking care of business on the front windshield seams. |
|
|
|
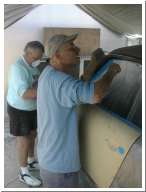
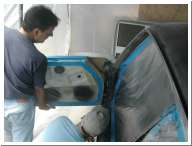
| Mel and Jim grinding metal and removing old door seal glue from the door jambs. |
Here's Jim using a dremel to remove the old paint and crud from the windshield washer nozzles. |
Rick and Mel removing the front doors. |
|
|
|
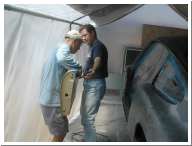
| The door being caried out. |
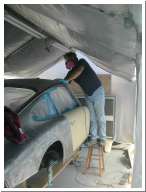
Here's Rick beginning the long task of remasking the car of epoxy primer. |
Here is me blabbing to Rick. Something about getting out of it while you still can .... |
|
|
|
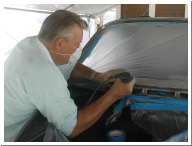
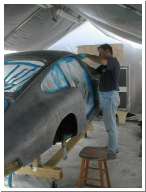
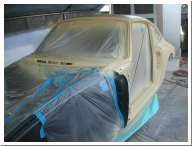
| Here is the car masked for epoxy. |
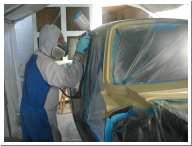
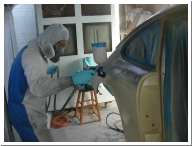
Here I begin my rounds shooting epoxy. |
Squirting some epoxy on the right rear quarter panel.... |
|
|
|
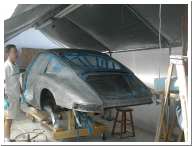
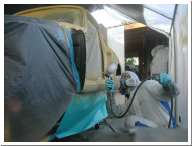
| Drivers side door jamb and rocker areas. |
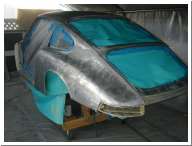
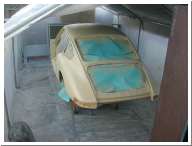
Here she is. FINALLY! All metal coated. |
Another nice photo of the completed shell. Now comes high build surfacer and sanding blocks. |