|
|
|
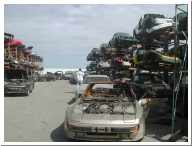
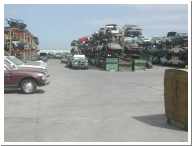
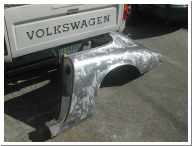
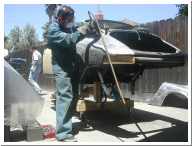
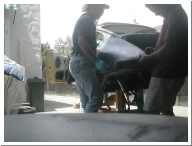
| Silver Star Recycling in Sacramento, CA |
We were able to locate another 912 this time a 67 with a good rear fender. |
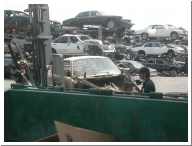
Here they are cutting up the fender. |
|
|
|
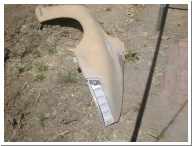
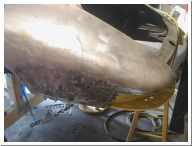
| Here is the fender getting some blasting and striping done. |
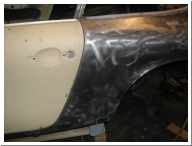
Here is the stripped fender. |
This is the original pot marked and badly finshed fender. This is what we were replacing. |
|
|
|
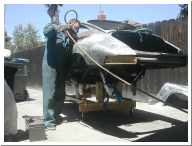
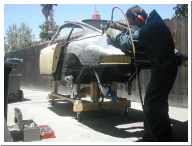
| Here I am beginning my cut of the fender. |
And slicing.... |
And cutting ... |
|
|
|
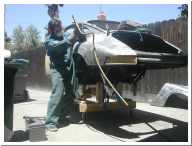
| And slicing ... |
Almost there. |
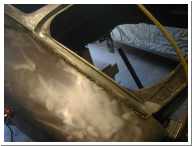
Off it goes. And Oh look!! Rust again. We took the time to clean all this up, treat it and seal it. |

|
|
|
| The entire section that we could no access was painted with black ZeroRust. |
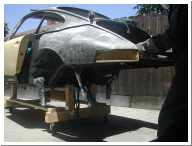
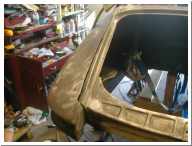
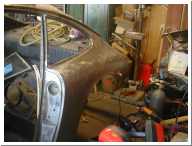
Here we are doing a test fit of the fender. |
Here is the rear section as we spent the time fitting. |
|
|
|
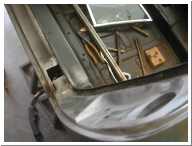
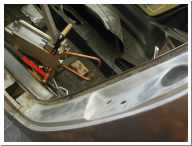
| Rear tailight area. |
Fitting in the lockpost. |
Here is the bad part. The door gaps were not lining up. One section would through another section out. This went on for weeks. |
|
|
|
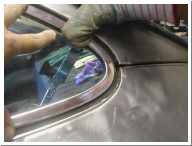
| Here we are checking the fit for the rear quarter window. |
This is before I began spot welding the lockpost to the door sill. |
At one point of fiddling around with it the fender just fell into place and we began tack welding. Here the rear section is tacked in. |

|
|
|
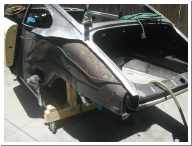
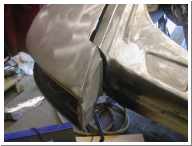
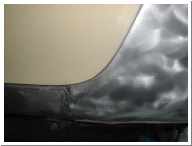
| Rear section welded and ground. |
Now this is nice. Hard to see but the gap is very uniform and consistant. |
Rear fender like new. |